Help
Settings
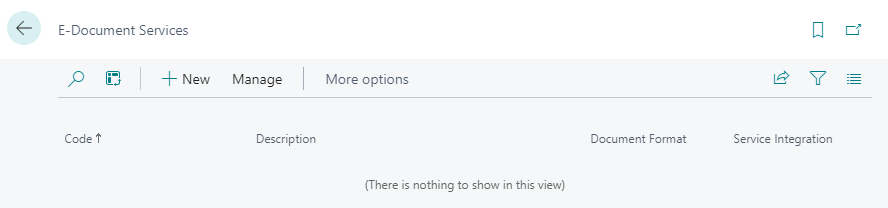
E-Document Services
Open the E-Document Services page, select New
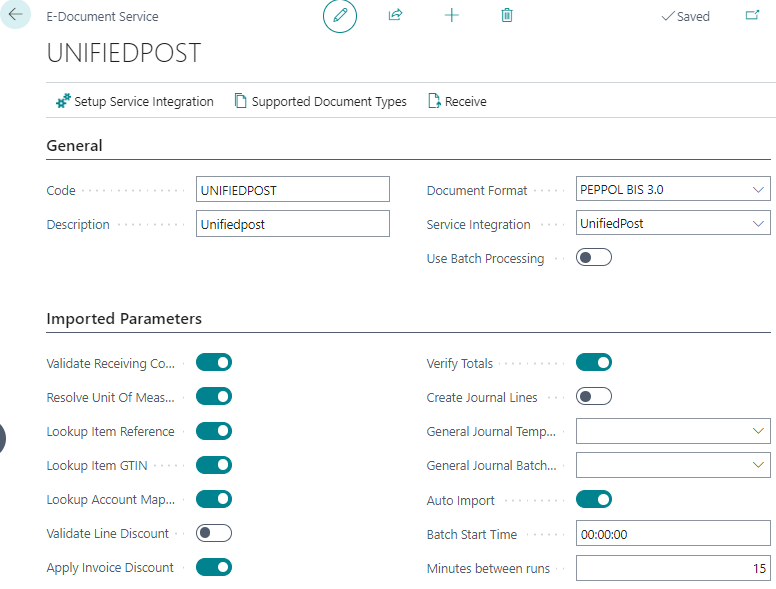
Fill the E-Document Services card:
- Code
- Description
- Document Format: PEPPOL BIS 3.0
- Service Integration: select the E-document Operator whose services you will use. A request to review the terms and conditions will appear on the screen, read them and click I accept.
Click on Setup Service Integration
Fill the card:
- Client API Key (X-API-KEY): enter the X-API-KEY assigned to your Company by the E-document Operator.
- API URL: enter the connection address provided by the E-document Operator.

Make sure the connection is established by clicking Test Connection. If the connection is successful, the message Connection is Ok will appear.
If the connection is not successful, check all the parameters you entered and try again. If the connection fails, contact your service provider.
Workflows
Create a workflow. Open the Workflows page, click New Workflow from Template. Choose Send to one service template in the E-Document section.
In the Workflow card row Then Responses field, click Send E-Document using setup.
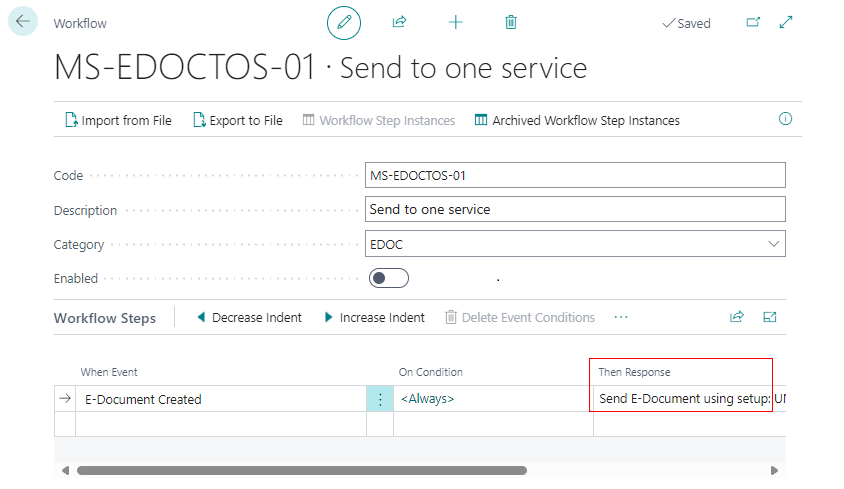 Specify the E-Document Service created before.

Click OK.
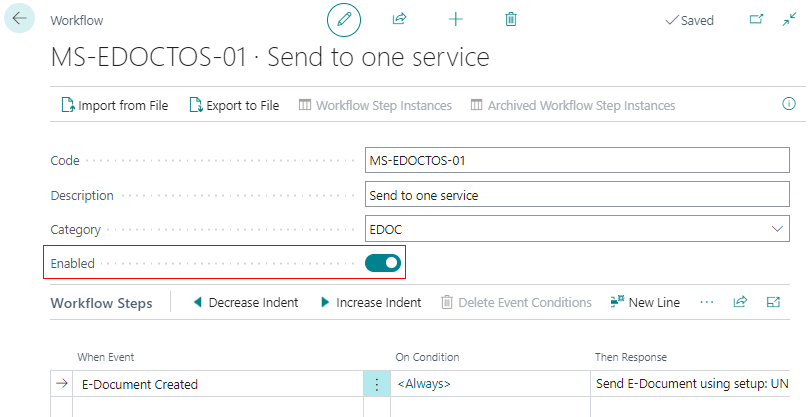
Enable the Workflow.
Document Sending Profiles
Create a Document Sending Profile. Open the Document Sending Profiles page, click New.
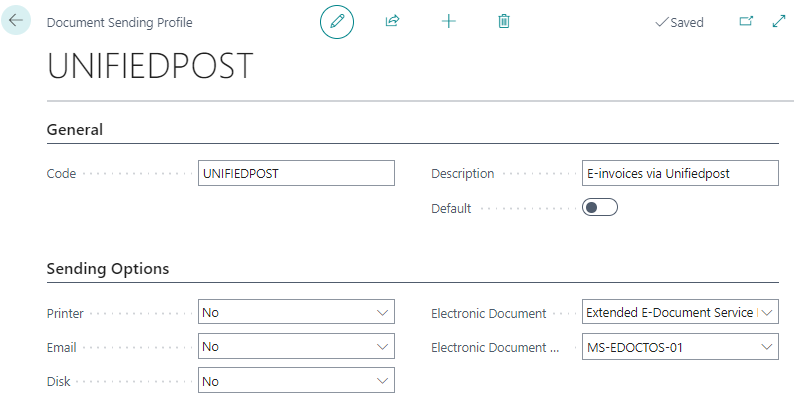
Fill the Document Sending Profile card:
- Code
- Description
- Electronic Document: Extended E-Document Service Flow
- Electronic Document Service Flow Code: Specify the Workflow created before.
Customers
For those Customers to whom you want to send E-Document using this E-document Service, specify the appropriate Document Sending Profiles in Customer`s Card field Document Sending Profile.

Unifiedpost Recipient Check
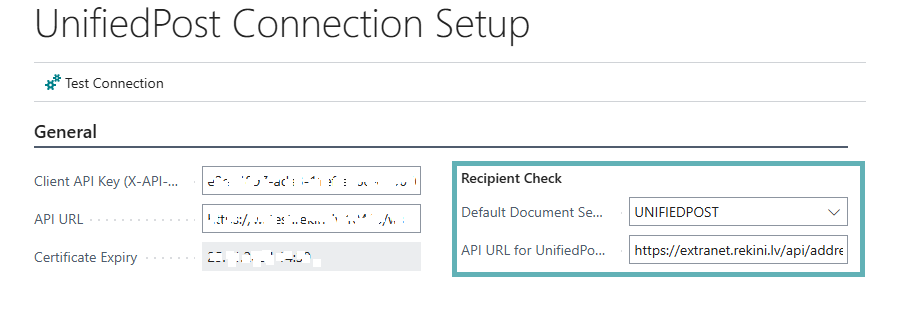
Open the E-Document Services page, select the service that provides integration with Unifiedpost, and click Setup Service Integration. In the Recipient Check section, specify the following:
- Default Document Sending Profile: Select the Document sending profile used for sending documents via Unifiedpost
- API URL for UnifiedPost Recipient Check
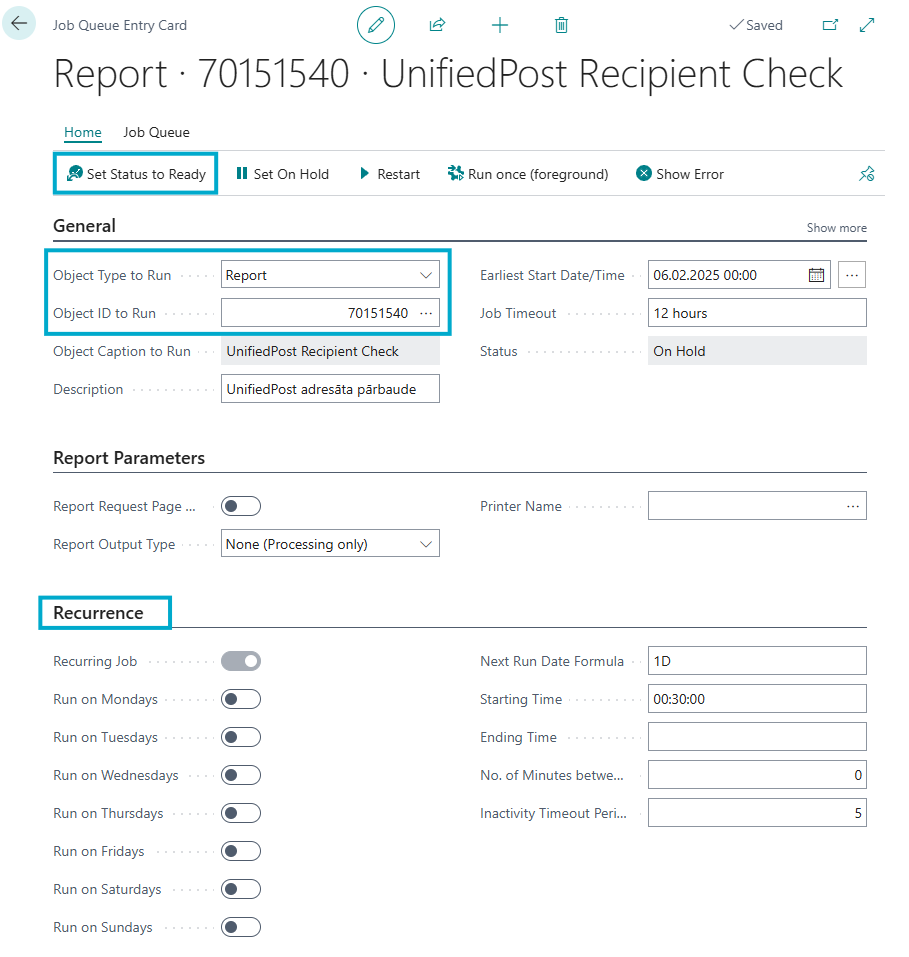
If you want recipient verification to run automatically, for example, once per night, set up a Job Queue. Open the Job Queue Entries page, click +New, and fill in the following:
- Object Type to Run: Report
- Object ID to Run: 70151540
Complete the Recurrance tab and Set Status to Ready.
How to use?
Preconditions
The following settings are required for successful creation and sending of E-Documents:
- Company Information: mandatory field Bank Branch No. Enter in this field SWIFT Code.
- Countries/Regions: the ISO Code and VAT Scheme must be filled in.
- VAT Posting Setup: the Tax Category must be filled in.
- Units of Measure: the International Standard Code must be filled in.
The following settings in Customers cards must be filled in:
- Registration No.
- Address
- City
- Post Code
- Country/Region Code.
Sending of E-Documents
Create Sales Order or Sales Invoice as usual. For E-Document purposes, you must fill in the Your Reference field.
Post the Sales Invoice (or Sales Order). At the same time the E-Document will be sent.
All sent E-Documents are registered on page E-Documents. Posted Invoice E-Document`s Status can be found under functions: Related 🡒 E-Document 🡒 Open E-Document.
Receiving of E-Documents
If you have enabled Auto Import on E-Document Service page, then according to the specified time interval E-Documents will be imported in Dynamics 365 Business Central.
If Auto Import is not enabled, then use the function Receive on E-Document Service page.
All sent E-Documents are registered on page E-Documents. If the Supplier and goods and services have been successfully recognized, a Purchase Invoice will be created or a link to the Purchase Invoice will be created according to the settings in the Supplier`s card. The invoice in PDF format will be attached to the Purchase Invoice.
Unifiedpost Recipient Check
To verify if a customer is ready to receive e-invoices via Unifiedpost, open the Customer Card and click Actions - Unifiedpost Recipient Check. If the customer is found in the Unifiedpost e-invoice recipient list, the Document Sending Profile field on the Customer Card will be updated with the Unifiedpost profile.

To verify all or multiple customers, use the Actions - Unifiedpost Recipient Check function on the Customer List. You can run the check without filters or specify the necessary filters. For verification to be successful, customers must have a Country Code and Registration Number filled in. Customers marked as Blocked: All will not be verified.
If a job queue for recipient verification is set up, the process will run automatically according to the specified recurrence.